An ADU build isn’t as complicated as most people expect, but it does run in a fixed order, and the part that trips people up is rarely the construction. It’s the paperwork at the front end.
Here’s the honest answer: once your permit is approved and your site is ready, the structure goes up quickly. Getting to that point is where the time goes. Below is how each stage works on a typical build in Idaho and eastern Washington, and which parts you can take on yourself.
What an ADU build involves, start to finish
Every project breaks into three stages, no matter who’s swinging the hammer:
- Approvals. Zoning check, site plan, permit application, and whatever else your city asks for alongside it.
- Site work. Utilities, access, grading, and the foundation your unit sits on.
- The build. Delivery, shell, mechanical rough-in, finishes, and final inspection.
A kit changes how long stage three takes. It doesn’t remove stages one and two. If you want that comparison in detail, we’ve written up how fast you can build an ADU against traditional construction.
Step one: find out what your city allows
Do this before you fall in love with a floor plan. It’s the cheapest step and the one most likely to change your plans.
Both states have moved on ADUs recently, and we’ve broken down Idaho’s ADU law (SB 1354) and Washington’s 2026 ADU law separately, because the details matter more than the headlines.
City rules still sit on top of state law. Spokane, Spokane Valley, Liberty Lake, Coeur d’Alene, Post Falls and Boise each handle setbacks, height limits, parking and owner occupancy their own way, so call your local planning department before you draw anything. Ask three questions: is an ADU allowed on my lot, what’s the maximum size, and what do you need to see in a submittal? Everything downstream depends on those answers. Your jurisdiction’s building code will be based on a model code from the International Code Council, with local amendments layered on top.
Step two: site prep and foundation
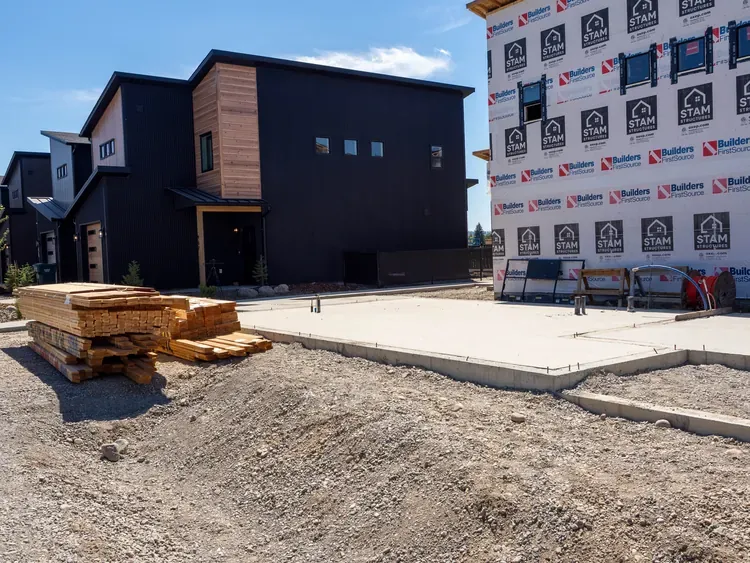
This is the stage people underestimate, and it’s where surprise costs live. Before anything gets delivered, you need a foundation that’s poured and cured, utilities run to the unit, and enough access for a truck and a crew to reach the pad.
Backyard lots are where it gets interesting. If the only way in is a narrow side yard or a neighbor’s easement, that shapes what’s realistic long before framing starts. Walk the route yourself and be honest about it. We’ve covered what’s involved in kit home foundations and site prep if you want the detail.
Utilities are the other variable. Running water, sewer and power to a detached unit is straightforward when the main house is close and the trench is short. It’s a different conversation when it isn’t.
Step three: delivery, shell, and finishes
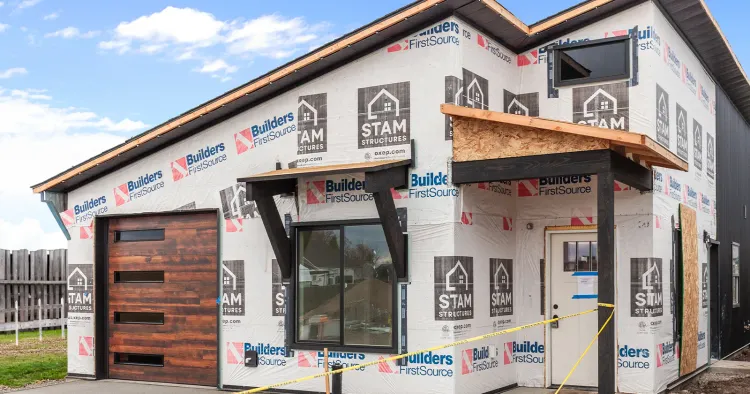
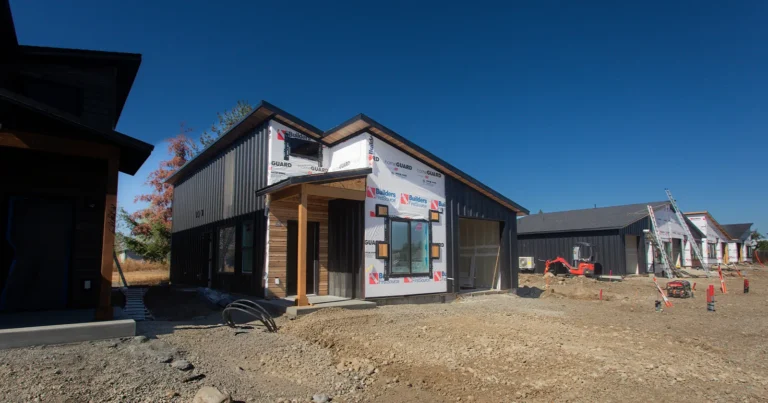
Once the pad is ready, this part moves. The kit arrives precut and labeled, the shell goes up, and then the build slows back down to a normal pace for mechanical rough-in, insulation, drywall and finishes.
What’s worth knowing here is where the kit stops and your budget picks up. Appliances, flooring choices, site-built decks and landscaping usually sit outside the package. We’ve spelled out what comes in an ADU kit and what you still buy, which is the fastest way to avoid a nasty gap in your numbers.
Insulation is worth a conversation with whoever’s building. Eastern Washington and North Idaho winters aren’t gentle, and the assembly that meets code isn’t always the one you’d choose to live with. The Department of Energy’s insulation guidance is a decent primer before that conversation.
How much of an ADU build can you do yourself?
More than you’d think, and less than the marketing suggests.
Owner builders regularly handle demolition, site cleanup, painting, flooring, trim and landscaping. Those are real savings and they don’t require a license. The shell assembly is doable for someone with framing experience and a few capable friends.
Electrical, plumbing, gas and anything structural is different. Those need licensed trades and inspections, and a failed inspection on an ADU build costs more in schedule than you saved in labor. Most people land somewhere in the middle: a general contractor running the job, with the owner taking the finish work. If you’re weighing that call, our guide to choosing an ADU builder in Idaho and Washington walks through what to ask.
ADU build FAQ
How long does an ADU build take?
It depends far more on your permit timeline than on your construction method, which is why two neighbors can start the same month and finish a season apart. We’ve compared kit and traditional timelines side by side in our piece on ADU build speed.
Do I need a general contractor?
Not always, but you’ll need licensed trades for the mechanical work regardless. If you’re working full time and this is your first build, a GC is usually worth it for schedule alone.
Can I start the foundation before the permit is approved?
No. Pouring ahead of an approved permit is how projects end up getting torn out. Wait for the approval, then dig.
The bottom line
An ADU build is three stages: get approved, get the site ready, then build. The construction is the predictable part. The zoning check and the site work are where your timeline and your budget really get decided, so front load your effort there.
If you’re trying to work out whether your lot will support one, give us a call. We’ll tell you straight if it’s a fit.